 |
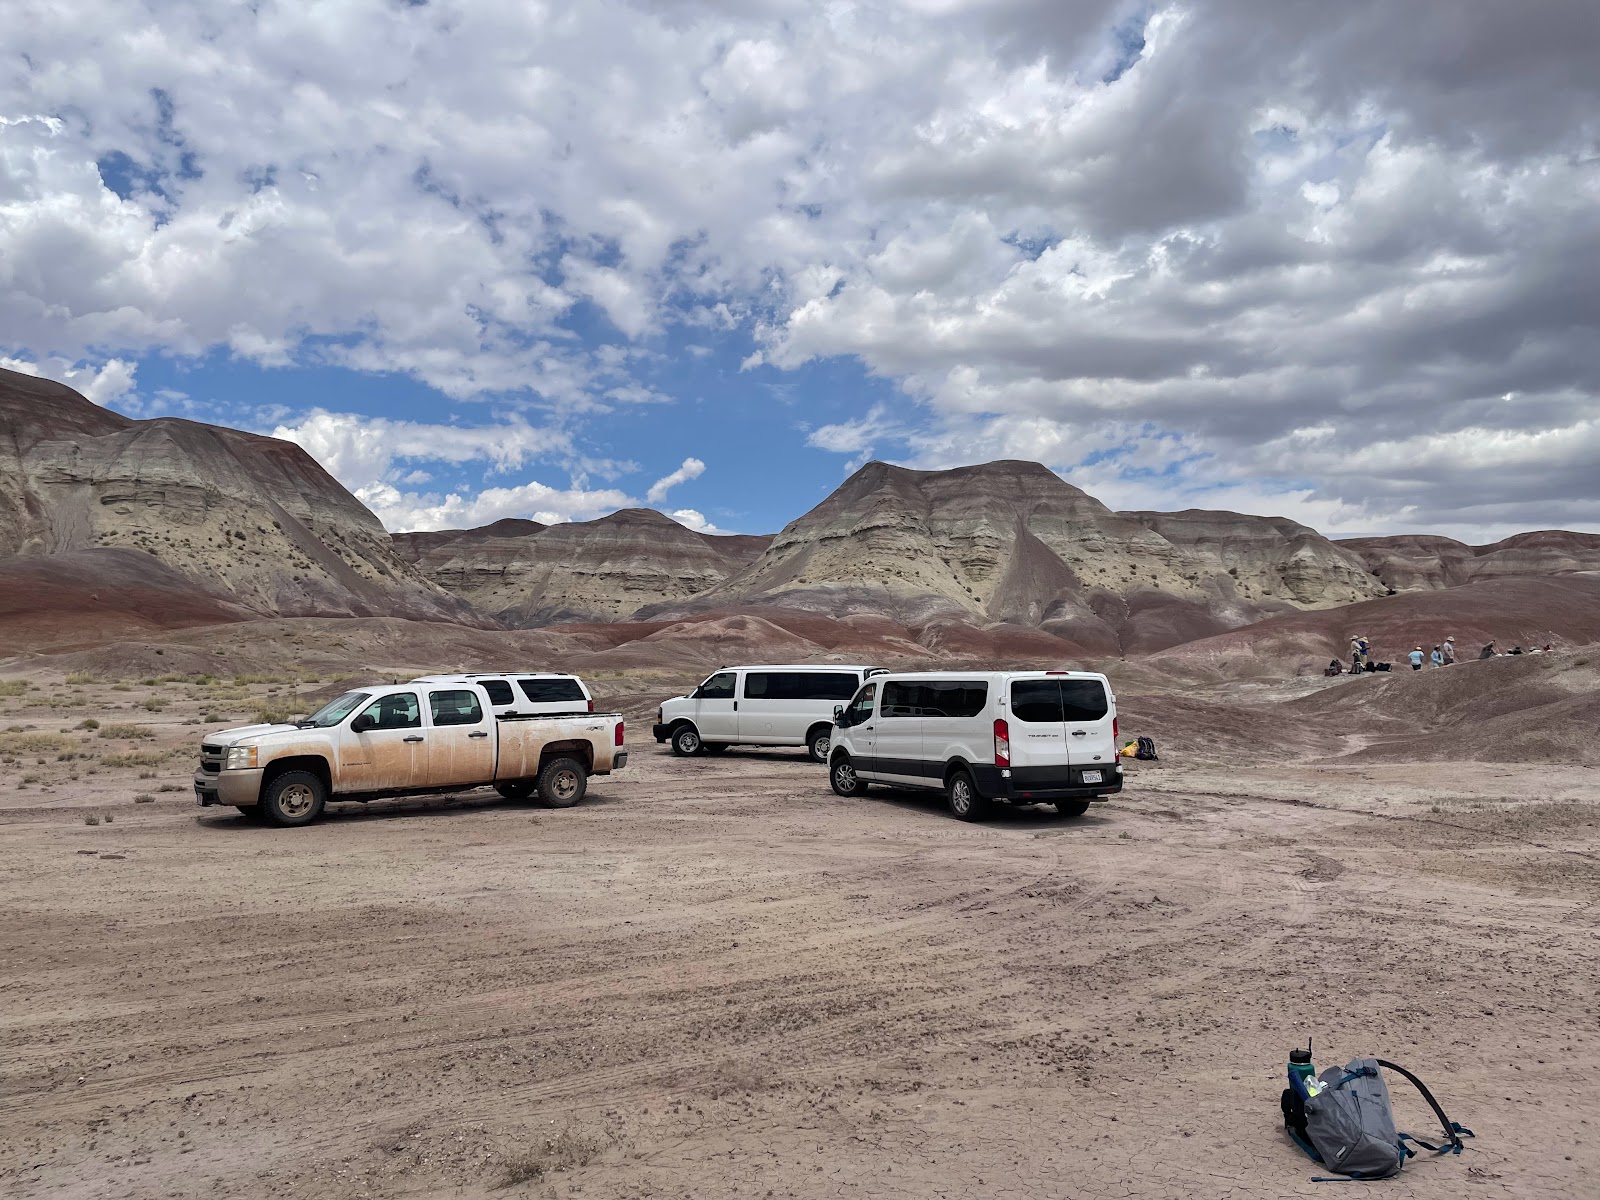
| Arriving at the Green Site |
The second day of the workshop was dedicated to fossil hunting. The guiding questions was: How do you know where to go to find a fossil? If you know your geology, you look in the places where they should be. Dr. Sterling explained it best by asking where do we go to find milk? We know to go to a grocery store, and we can guess that the refrigerated section is probably somewhere near the back of the building. Then, we can narrow it down to the dairy section, but after that it becomes luck whether the store has our brand in stock, and exactly where on the shelf it is placed.
 |
| Michelle, with her find! |
We first stopped at the Rainbow Forest Museum for an overview of the Triassic creatures found within Petrified Forest NP. Michelle had done much of her research here at PEFO, and some of her finds are displayed in the museum!

The Green Site, where we spent the day, is located in the Jim Camp Beds of the Sonsela Member of the Chinle Formation, formed between 212 and 216 million years ago. The different layers are bluish/purple, and faintly green, located just below the tan Martha’s Butte sandstone. (Martha’s Butte beds were easy to distinguish, as it was the only layer that had plants growing in it.) The purple color of the Jim Camp beds tells us there was standing water, and sure enough we found remnants from several aquatic species. We were digging in one of the lighter layers of the Jim Camp beds, where the soil had a bit of a greenish tint – thus the name Green Site.

 |
| It was so frustrating at first as everything seemed to look the same, but very quickly I learned how to spot the fossils – and they truly were everywhere! |
We started by just sitting and scouring the ground for fossils. At first I found it really hard to find anything, but after seeing a few examples, it started to get easier to differentiate between fossils and rocks.
 |
| My haul, that we were allowed to keep: teeth, coprolite, and bone fragments |
The most common fossil we saw was coprolite – fossilized poop, which was smooth and oblong and has a very uniform makeup. And as we learned, ‘where there’s poop, there’s bone!”
 |
| So clear under a microscope! |
Fossilized teeth are often smooth and shiny, and some have serration along their edges. It was interesting to view the teeth under a microscope, since sometimes it was hard to see any fine details with the naked eye. This is why paleontologists carry loupes (small magnifying glasses) when working in the field.
 |
| Being a paleontologist for the day! |
 |
| The drepanosaur claw |
At first, we had no clue what we were looking at. The fossils we were looking for were tiny – most of which were about a centimeter or smaller. We were sure that in the first several rocks we opened, we must have thrown away so many fossils without realizing it! Of my larger finds, there was a phytosaur osteoderm (an armored plate like the scale of a crocodile), the long front tooth of a phytosaur, a coelacanth scale, lungfish teeth, and a rare drepanosaur hand claw! On top of that, if we found a rock that was particularly rich in microfossils, we kept it for future screening.
 |
| The partially-excavated osteoderm |
 |
| An exciting find… but what is it??? |
Finding the phytosaur osteoderm was also really fun. Initially, I saw only part of the broken scute and had no idea what it was. It was first completely imbedded in the rock, so I showed it to Davide who slowly chipped away at the surrounding sandstone to figure out what it was. A phytosaur is a large reptile that has bony scales on it’s back, much like a crocodile. With just a few centimeters visible, Michelle confirmed that yes, it was a phytosaur osteoderm, and Davide helped to excavate it from the rock.
 |
| The complete osteoderm |
The fossil itself is very delicate, so he showed me how to reinforce it with a mixture of acetone and glue – an easily reversible solution that helps support the fossil while we were excavating it. After the glue dried, Davide was able to remove the majority of rock. It was then wrapped in toilet paper and foil to be transported back to the lab.
 |
| Prepping the fossil for its cast |
Nobody expected the day to be as fun as it was! We had to be told several times to break for lunch, and when asked if we wanted to help with other jobs, those of us splitting rocks didn’t want to move. So I don’t really know much about the other jobs out in the field!
 |
| Closing up the jacket |

The other process we learned was how to sift for microfossils. Davide showed us how to process the many pounds of rocks we’d brought back so that he wouldn’t have to transport it all back to his lab. He soaked the sandstone chunks in water for several hours until it turned into mud. Then, we put the mud through a sieve and swirled it in water, much like panning for gold, to filter out all the unwanted sediment. We had to take care not to agitate the mix too hard for fear of destroying all the delicate pieces. The smaller sand and mud filtered out the bottom of the sieve, leaving behind the larger pieces including all the fossils. These remnants would be left to dry, and then collected and brought back to the lab to be sorted under a microscope. By going through this process, a huge 50-pound bag of rocks could be reduced to the size of a gallon Ziploc bag.

The next morning, we went to see one of the park’s namesake Petrified Forests. The Crystal Forest is known for its ‘clunkers’ – trees with a high concentration of quartz crystals. Trace minerals cause different colors in these trees, including reds/oranges/yellows from iron and manganese, and blues/greens from cobalt, copper, and chromium. And apparently there used to be a lot of amethyst (!!) but much of it was taken by past visitors. There are also ‘clinkers’ – petrified trees that make a ‘clinking’ sound when knocked together.
 |
| Learning about the landscape with Ranger Bill |
After a lunch stop at Chinde Point (with a great view of the Painted Desert), we headed back to Blue Mesa with park paleontologist Bill Parker. Bill took us to an area called the Dying Grounds, where we practiced prospecting for fossils – reading the landscape and looking for clues of fossil deposits. The Blue Mesa area is named for the blue and purple sandstone layers, indicating the presence of water. We hiked into the badlands to learn and practice how to find fossil beds.
 |
| Annie Alexander: how badass is she??? |
 |
| The yellow and white streaks are possible signs of past life |
 |
| Lots of things died in the Dying Grounds – and fossils were abundant! |
Because the layers of sandstone are weathering away, fossils are continuously being uncovered and often being transported downhill. We were looking for exposed fossils, then following them uphill to areas of higher concentration and digging into the dirt.
 |
| A nice collection of fossils! |
 |
| Metoposaur interclavicle fragments |
I couldn’t understand how he was doing it, but he said it was from the experience of 10 years walking in deserts. Once I had some fossils examples, it started getting easier and easier to spot them myself. Metoposaur bone fragments have a very distinct texture, vertebrae look just like modern bones, and teeth retain a shininess like enamel. If you find a fossil fragment, you follow the wash uphill until you find a concentration of fossils, then locate the source and dig for more.
 |
| A huge phytosaur front tooth, in situ |
 |
| Into the Painted Desert we go! |
 |
| Time to read that rock! |
By carefully examining the rock, we discovered layers of siltstone, sandstone, and mudstone. Mudstone and siltstone are very fine layers of sediment, where the grains that make up the rock are too small to see with the naked eye. To differentiate the two, you can take a small piece and rub it between your teeth – siltstone feels gritty since it is slightly larger; mudstone is smaller and will feel smooth. In sandstone, the grains are larger and can be seen with the naked eye. Based on the grainsize of the sediment, you can determine the energy level of the water that deposited it. Fast flowing water (high energy) will carry away smaller sediments and leave larger pebbles, and slower or standing water (low energy) will deposit finer sediment. Because we were finding mudstone and siltstone, we could determine the layer was deposited perhaps in a lake or pond-like environment. The lake dried and reappeared several times throughout history, as evidenced by the differing color layers that we observed.
 |
| Phytosaur and lungfish teeth, along with other bone fragments found at the site |
A clue that pointed to a swampy or shoreline habitat was the presence of the lungfish teeth that we found. Because modern lungfish have the ability to crawl out of the water and into the mud on the banks of a lake, we could conclude that our ancient lungfish may have lived in a similar environment. Another clue that supported this theory was the phytosaur teeth that we found, since phytosaurs also lived in a swamp-like environment.
 |
| The stratigraphy of the project site |
 |
| Delivering our story! |
One response to “🔍🦴 Fossils in the Field 🦖🐊”
A famous paleontologist once said when asked if everything had already been discovered that there is adventure around every corner and fortunately the world is full of corners. What a great summer!